The First Descendent: How To Beat The Devourer (Boss Guide)
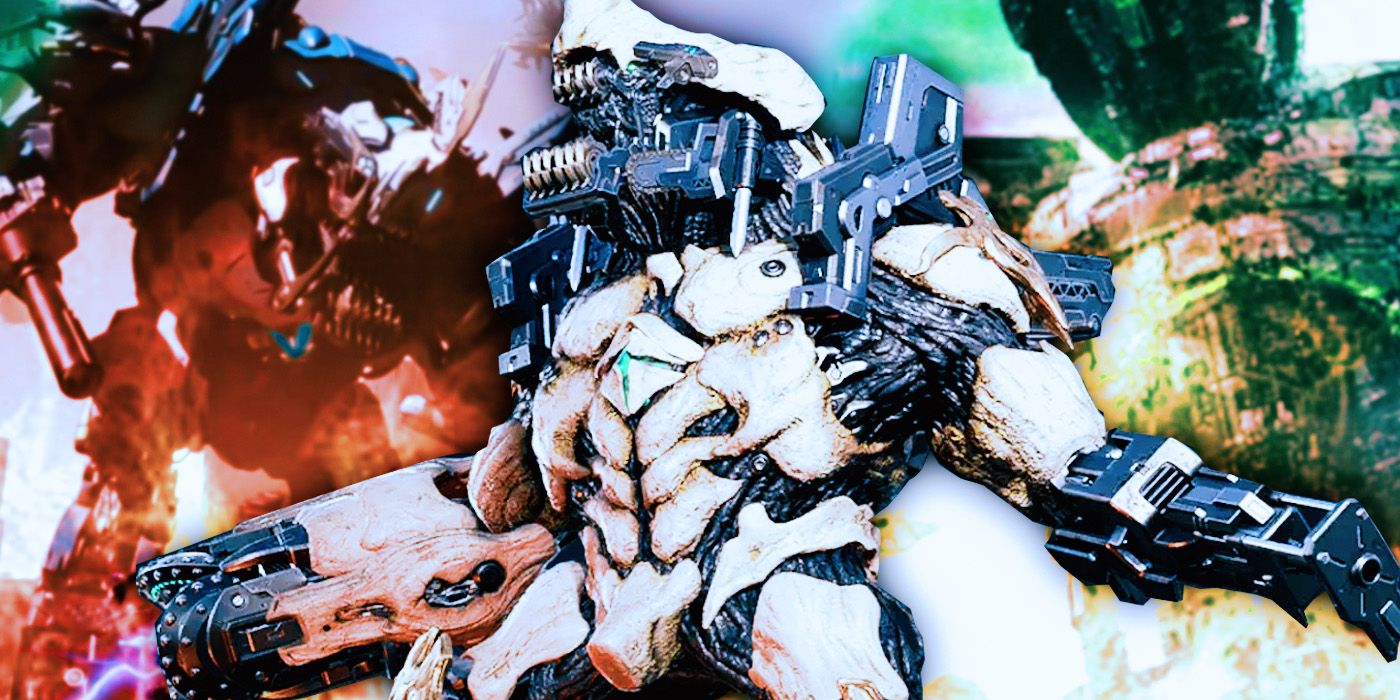
The Devourer in The First Descendant presents one of the toughest Void Intercept battles due to his unique ability in one of his boss phases. While he doesn't have a particularly striking attack roster or moveset, the boss has an ability that makes him incredibly difficult to overcome, giving him exemplary health and defensive attributes. With these obstacles in the way, players must devise an effective combat strategy.
By equipping yourself with the right weapons and modules and using the best playable character in The First Descendant, you will be able to obtain great rewards upon succeeding. Moreover, using a team can dramatically alter how the boss fight unfolds and could be the key to a swift and glorious victory.
Related The First Descendant: How To Beat The Stunning Beauty (Boss Guide) To beat The Stunning Beauty in The First Descendant, utilize a character with Toxin-based damage, and watch out for the summoned eye's AoE attacks.
The Devourer Features & Stats
How To Prepare For The Boss Fight
When preparing to face any boss in The First Descendant, make sure to overview any key strengths and weaknesses, allowing you to equip yourself with the most effective toolkit. The Devourer's main source of resistance is Toxin, as he deals Toxic-based damage, with another resistance to Cold-based attacks.
As for weaknesses, use Electric-based skills, as the boss is extremely vulnerable to this element. The table below showcases the Devourer's main features and attributes, including the parts of his bodily structure that players should target:
The Devourer Features Stats Level 54 Damage Toxin Attribute Resistance Toxin
Cold Weakness Electric
Fire (Neutral) Destructible Parts Sensor (Head)
Core Cover (Chest)
Balancer (Legs) Removable Parts Core (Chest)
Shoulder (Arms)
One of the most important features to be wary of is the Devour's ability to regenerate its HP and shields using three canisters. The boss's health pool itself isn't too high, but this ability makes it formidable to take down. You must consider this when equipping yourself with gear.
The Best Weapons & Modules To Bring
With the Devour's stats in mind, ensure to bring weapons and Modules in The First Descendant that can exploit his weaknesses. The most important mods to spec are Toxin Antbobody at a minimum of 1800 and Toxin Resistance, Increased DEF, and Increased HP.
As you will need to destroy the canisters used by the boss to heal himself, use weapons with high burst DPS, such as shotguns, hand cannons, sniper rifles, or a modded Thunder Cage. One of the best weapons to use is the Eternal Willpower assault rifle, as well as rocket launchers, handguns, and beam rifles.
These ultimate weapons in The First Descendant are also effective against the Devourer himself, due to his weakness to Pierce damage.
The Best Descendants To Use
To give you the best chances of efficiently navigating this boss fight and defeating the Devourer, using the most effective Descendants is integral. You must take into consideration their abilities, skills, and elemental attributes that can best counter the boss while also thinking about which possible characters can aid in support:
Bunny: Due to her offensive capabilities, Bunny in The First Descendant is the best option. As her skills utilize Electric-based attributes, which the boss is weak against, she will be the best character to deal direct damage to the Devourer and can even destroy his canisters easily.
Due to her offensive capabilities, Bunny in The First Descendant is the best option. As her skills utilize Electric-based attributes, which the boss is weak against, she will be the best character to deal direct damage to the Devourer and can even destroy his canisters easily. Ajax: One of the key features of survivability in a boss battle is having a character with defensive abilities. Ajax can protect himself and his allies with his shield, which is integral, given that the boss will eventually heal himself.
How To Beat The Devourer
Moveset & Abilities
The Devour has a fairly repetitive attack roster, and while most of his hits deal quite a lot of damage, he doesn't have much variation of attacks. Due to this, his moves are recognizable and easily noticed, allowing you to evade his attacks with the right tactics. The table below showcases his moveset and the safety measures players can take:
Attack Description How To Counter Slam Attack The boss raises its left arm and slams it down on the ground, creating an AoE pool of Toxin. Maintain distance from the boss and dodge the Toxin pool, ensuring you keep an eye on the floor to avoid stepping into it accidentally. Poison Orbs The Devourer slams its hands together, creating a multitude of poisonous spheres beneath him that travel across the floor. Dodge over the spheres as they travel across the arena. Rocket Attack The boss raises its shoulder flaps, targeting the player's location, and fires a barrage of missiles. There are few surrounding structures to block these missiles in the arena, so either dodge through or under them, as dodging away can put you in range of the missiles.
By utilizing high DEF and Toxin resistance, most of these attacks shouldn't harm players too badly if hit as a result of a failed attempt at dodging. Don't forget to use your Grappling Hook to help you evade these attacks, and ideally, try to fight the boss from the high ground to avoid these hits.
The main thing players should be concerned about, more than the Devourer's damage potential, is his regeneration phase.
Related The First Descendant: How To Beat Swamp Walker (Boss Guide) To defeat the Swamp Walker in The First Descendants, utilize Bunny for her Electric-based abilities, and target the canisters on all six of his legs.
Boss Fight Combat Strategy
As with all bosses in The First Descendant, the boss has particular weak points that players must target. The Devourer utilizes arm cannons that deal AoE Toxin damage, so aim for his shoulders and arms, and then use your Grapple Hook to latch on and remove its parts. Its knees are another critical Weak Point, so take some time to chip away at all these areas.
As for its attacks, as showcased above, most of his moves surround elemental AoE damage, ground regens, and the use of ranged projectiles. Ensure you have good positioning and swiftly move around the battlefield to avoid its Poison-inducing status effects.
In addition to the boss's direct attacks, he will also summon minions that can swarm and stun-lock players if hit. This is extremely dangerous, especially if the boss is targeting you, so kill these smaller enemies as soon as you see them and loot their HP drops.
Moreover, the Devourer leaves rocks on the ground that can unnecessarily damage players, so keep an eye on your surroundings, as these can often be missed.
For creating your battle strategy, YouTuber easynow recommends to play with friends in The First Descendant and advises not to fight this boss battle as a solo endeavor. The support of a full team is crucial against the Devourer, mainly because multiple participants are required for both offense and defense and to prevent the boss from self-healing.
When the Devourer leaves pools of Toxin around the arena, he will hyperfocus on one player, making it extremely challenging to face alone. Upon doing so, he deals splash damage, which hits hard and is almost impossible to take cover from, even when hiding.
The ideal team-based strategy is to use teammates to deal damage directly to the boss while you, as the target, take cover until he fixates on someone else. This is then your cue to come out of hiding for offensive purposes alongside other players while the current target protects themselves. Rinse and repeat this method until the boss enters their regeneration phase, which requires a new strategy altogether.
How To Stop The Devourer From Healing
Nothing is more frustrating and disheartening than seeing a boss so close to death, only for its shields to come up and its HP back to its maximum. When combating the Devourer, he will summon three canisters that regenerate his health and shields, but fortunately, these can be destroyed to prevent this from happening.
While this becomes the primary goal of the boss fight, the mortars that the Devourer drops will double when you destroy one of its canisters. To swiftly end this phase, there are two ways to go about it, the first of which is the safest option. Send each player in your team to one canister, aiming to destroy all of them at the same time to prevent the mortars from doubling, eventually tripling, and so on.
The canisters release green spheres resistant to bullets, so players must enter the sphere to directly hit the canisters with their weapons in The First Descendant.
While this is the safest route to take, it may have some drawbacks, making it slightly less efficient. These canisters are extremely durable and take a long time to destroy, so by the time you deal with one of them, the Devourer's HP bar will most likely be full again.
This will leave players having to take on the entire boss fight as if starting over. The alternative method may be more efficient but will be slightly more risky.
Target one single canister with your squad to destroy it almost instantly. While this will mean that the Devourer's mortars double, you can all use your Grapple Hook to get to the next canister and swiftly destroy it, and so on. Make sure you have Ajax as part of your team to shield you against the mortars as you all focus on your objective.
Overall, this is a very tough boss fight that can often leave players frustrated when they see the boss's shields and HP go up. However, with effective communication and the right team for support, players will eventually succeed in defeating the Devourer.
Boss Fight Rewards
Reconstruction Device
Upon the demise of the Devourer, players will get a Reconstruction Device that allows them to unlock an array of possible Amorphous Material Patterns in The First Descendant, as shown in the table below. All these patterns have a certain drop rate, but you can always use a Shape Stabilizer to get a better chance of obtaining rarer drops:
Amorphous Material Pattern Rewards Drop Rate (%) No. 029 Secret Garden Synthetic Fiber Blueprint 3% Python Polymer Syncytium Blueprint 6% Crystallization Catalyst Blueprint 15% Valby Stabilizer Blueprint 38% Greg's Reversed Fate Polymer Syncytium Blueprint 38% No. 030 Energy Activator Blueprint 3% Clairvoyance Synthetic Fiber Blueprint 6% Viessa Code 15% Albion Cavalry Gun Synthetic Fiber Blueprint 38% The Final Masterpiece Blueprint 38% No. 031 Ajax Spiral Catalyst Blueprint 3% Executor Polymer Syncytium Blueprint 6% Crystallization Catalyst Blueprint 15% The Final Masterpiece Blueprint 38% Albion Cavalry Gun Blueprint 38% No. 032 Energy Activator Blueprint 3% Wave of Light Blueprint 6% Secret Garden Blueprint 15% Valby Code 38% Restored Relic Nano Tube Blueprint 38%
Source: easynow/YouTube


COMMENTS