Zelda: TOTK - Misko's Treasure of Awakening 2 Walkthrough
In the Legend of Zelda: Tears of the Kingdom, a multi-part quest called Misko’s Treasure of Awakening allows you to find the Armor of Awakening for Link to wear. In the second part of that quest, Link will be searching for the Trousers of Awakening, and it will take him on a journey through Hyrule and a tough enemy encounter to achieve.
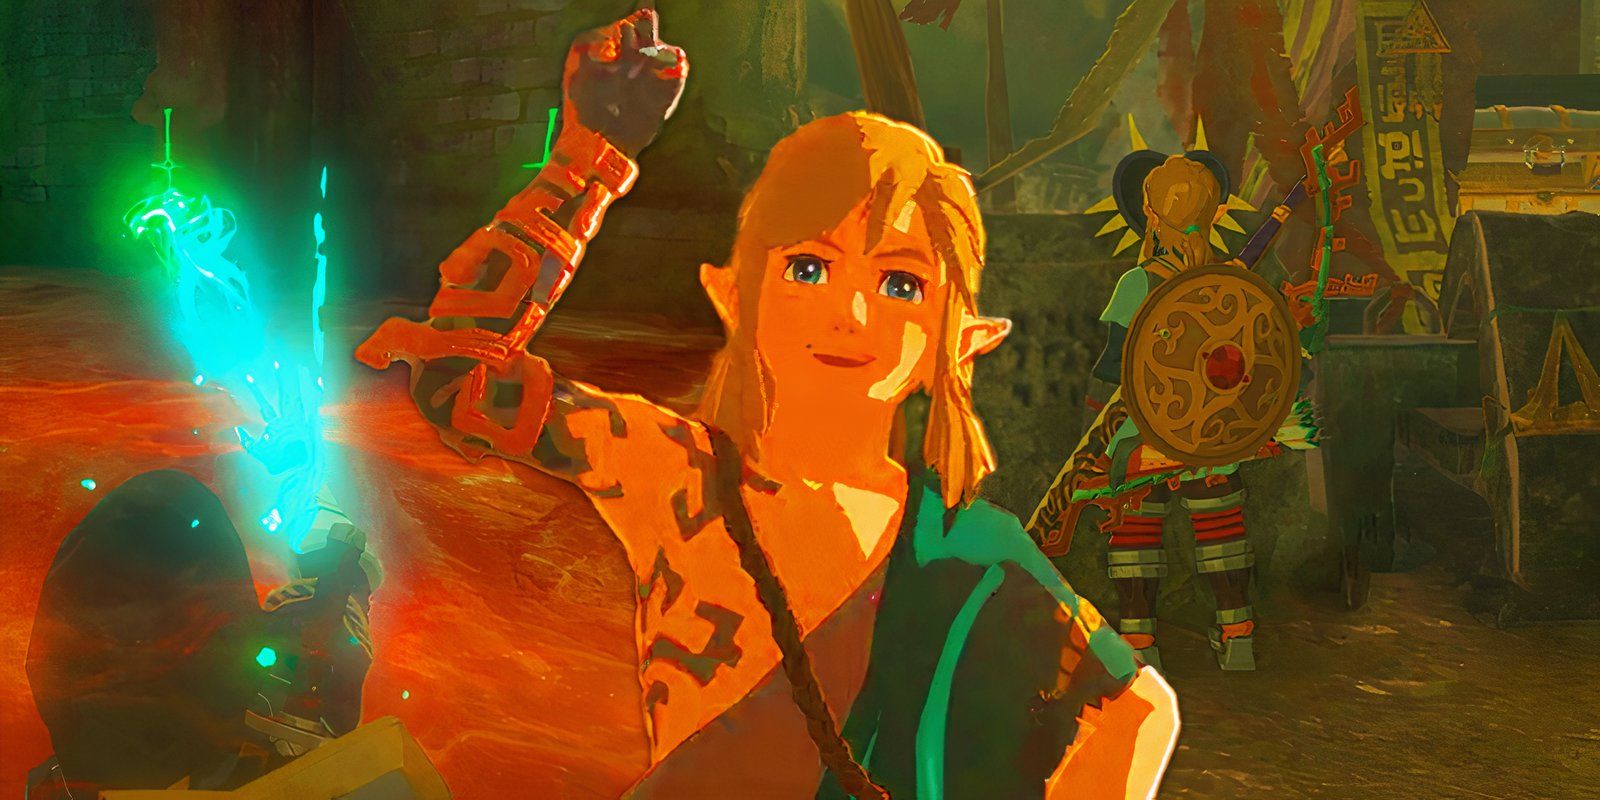
Misko’s Treasure of Awakening is one of many side quests available in the Legend of Zelda: Tears of the Kingdom, and it has a few cryptic clues for players to figure out if they want the armor. This armor gives Link the appearance of his character in Link’s Awakening, giving him a very different look than before. This armor gives you Attack Power Up, and it can be upgraded at the Great Fairy Fountains but not dyed. Should you want to sell it, each one can be sold for 200 Rupees.
Related 10 Zelda: Tears Of The Kingdom Challenges For A Brutal Next Playthrough The Legend of Zelda: Tears of the Kingdom's flexibility in how to play allows players to get creative and set challenges to make the game harder.
How To Start Misko’s Treasure Of Awakening Part 2
Prerequisites and Clues
To get the Trousers of Awakening, players must first go through the first part of Misko’s quest. You should have already received a letter from Misko in the Goronbi River Cave. If you have not started this quest yet, head there first and make sure to bring high Heat-Resistant Armor in the Legend of Zelda: Tears of the Kingdom. Once you found the first Stone Tablet, you should have visited the Tabantha Frontier Region to find the Tunic of Awakening and another Stone Tablet.
The second Stone Tablet will set you off on Part 2 of Misko’s Quest to get the Trousers. This Stone Tablet challenges the seeker to find the treasure that was hidden. The important part of the clue you get reads, "In the ruins of Hyrule Field, where warriors once tested themselves in battle… offer your soldier’s claymore to the two sculpted soldiers. The sword will point the way to my treasure."
This is a fairly big hint in Tears of the Kingdom terms that you will need to head toward the Coliseum Ruins, but you will want to be well prepared before you head there. The main issue is that the Coliseum Ruins are guarded by a Thunder Gleeok, a big and relatively dangerous enemy. While Live Gaming Paradise suggests ways to get around it, it will be a little easier if you at least prepare as if you have to fight it and be relieved if you do not.
If you have the Link's Awakening Amiibo or have the means to buy one, you can skip this questline entirely by scanning the Amiibo into the Legend of Zelda: Tears of the Kingdom using the dedicated icon in Link's ability wheel.
How To Beat The Thunder Gleeok & Find The Trousers of Awakening
Preparation & Tips
The Coliseum Ruins are in the South Hyrule Field, accessed from the Hyrule Field Skyview Tower. The Thunder Gleeok will be waiting when you arrive, so if you try to go in unprepared, you will be caught off guard. If you manage to get to the Soldier’s Claymore fast, then great, but if you miss your target, you will likely have to fight the Gleeok at least for a short while until you remove yourself from the combat encounter.
The Soldier’s Claymore is on the far right of the Coliseum, so if you can land close to that side using your gliding ability, you can sprint around the edge and use Magnesis to attach the sword to the soldier. Be warned, the Gleeok will likely be shooting lightning at you the whole time.
Whatever you choose to do, avoid, or fight, you will want to wear the highest shock-resistance armor you have. You can also have food or potions with the shock-resistance trait and equip damage-increasing Armor if you want to fight him full-on, as Chupacabra Tutorials on YouTube suggested. The main idea for this fight is to keep the Thunder Gleeok’s heads in the ground.
This is possible to do if you use arrows equipped with Keese Eyeballs in the Legend of Zelda: Tears of the Kingdom to turn them into homing missiles and knock them out. Ensure it is on the ground and charge in with heavy attacks directly on the head. Be sure to equip a weapon you are very familiar with the timing of, as you will need to back away fast as soon as the Gleeok starts to wake back up.
Keep food handy to keep healing when necessary, and keep the Gleeok on the ground as much as possible. If you do that, winning the fight and heading deeper into the ruins should be fairly easy. Use Magnesis to attach a Soldier’s Claymore leaning against a wall to the statue. Once connected, a new passageway will open up, leading deeper underground into the Coliseum Ruins Cave, where you can travel down without any trouble.
If you try to do this in a sneaky or passive way, there is a chance the puzzle will not trigger if you are considered to be in combat. That is why it is handy to be prepared to fight if necessary, as you are likely to be spotted.
The Trousers of Awakening are down the hall; you can simply open the chest to receive them. After that, you will need to read the next Stone Tablet, which will guide you on how to get to the last part of Misko’s Treasure of Awakening Quest in the Legends of Zelda: Tears of the Kingdom. This will unlock the last piece of armor, the Mask of Awakening, and allow you to bring an old Link to a new game.
Source: Live Gaming Paradise/YouTube
Video Credit: Chupacabra Tutorials/YouTube


COMMENTS